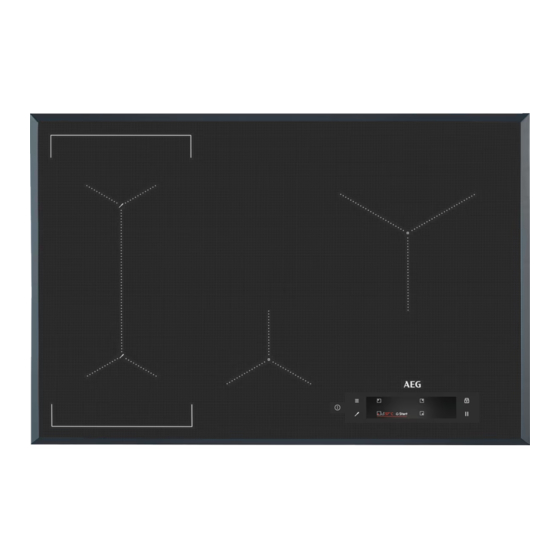
AEG IAE84881FB User Manual
Hide thumbs
Also See for IAE84881FB:
- User manual (616 pages) ,
- User manual (32 pages) ,
- User manual (36 pages)
Table of Contents
Advertisement
Quick Links
Advertisement
Table of Contents

Summary of Contents for AEG IAE84881FB
- Page 1 IAE84881FB User Manual USER MANUAL...
-
Page 2: Safety Information
Welcome to AEG! Thank you for choosing our appliance. In our drive to be sustainable, we are reducing paper assets and provide full user manuals online. Access your full user manual at aeg.com/manuals Get usage advice, brochures, trouble shooter, service and repair information at aeg.com/support... - Page 3 CAUTION: The cooking process has to be continuously • supervised. A short term cooking process has to be supervised continuously. WARNING: The appliance and its accessible parts become • hot during use. Care should be taken to avoid touching heating elements. WARNING: Unattended cooking on a hob with fat or oil can •...
-
Page 4: Safety Instructions
Do not use steam cleaner and water spray to clean the • appliance. 2. SAFETY INSTRUCTIONS 2.1 Installation and Electrical Remove any separator panels installed in the cabinet below the appliance. Connection Before carrying out any operation make sure WARNING! that the appliance is disconnected from the Only a qualified person must power supply. -
Page 5: Use And Maintenance
The electrical installation must have an objects up when you have to move them on isolation device which lets you disconnect the the cooking surface. appliance from the mains at all poles. The Use the Food Sensor according to its isolation device must have a contact opening purpose. -
Page 6: Installation
2.3 Disposal Disconnect the appliance from the mains supply. WARNING! Cut off the mains electrical cable close to the Risk of injury or suffocation. appliance and dispose of it. Contact your municipal authority for information on how to dispose of the appliance. -
Page 7: Product Description
Find the video tutorial "How to install your AEG Induction Hob - Worktop installation" by www.youtube.com/electrolux typing out the full name indicated in the www.youtube.com/aeg graphic below. How to install your AEG Induction Hob - Worktop installation 4. PRODUCT DESCRIPTION 4.1 Cooking surface layout... -
Page 8: Before First Use
Symbol Description Melting. To melt different products, e.g. chocolate or butter. Hob²Hood infrared signal communicator. To connect the hob to a special hood. PowerBoost. To activate and deactivate the maximum heat setting. The cooking zone is deactivated. 1 - 9 The cooking zone operates. -
Page 9: Daily Use
To calibrate or re-calibrate the function, put Select: > Settings > Food Sensor > the Food Sensor on the rim of a pot. Fill the Calibration > Calibrate. Follow the pot with cold water, at least up to the instructions on the screen. minimum level mark, and place it on the left front cooking zone. -
Page 10: General Information
7. CARE AND CLEANING 7.1 General information • Remove when the hob is sufficiently cool: limescale rings, water rings, fat • Clean the hob after each use. stains, shiny metallic discoloration. Clean • Always use cookware with a clean base. the hob with a moist cloth and a non- •... - Page 11 Problem Possible cause Remedy An acoustic signal sounds and the You put something on one or more Remove the object from the sensor hob deactivates. sensor fields. fields. An acoustic signal sounds when the hob is deactivated. The hob deactivates. You put something on the sensor Remove the object from the sensor field.
-
Page 12: Technical Data
9. TECHNICAL DATA 9.1 Rating plate Model IAE84881FB PNC 949 597 523 01 Typ 62 D4A 01 CA 220 - 240 V / 400 V 2N 50 - 60 Hz Induction 7.35 kW Made in: Germany Ser.Nr. -
Page 13: Energy Efficiency
3 seconds Maximum sending power 5 dBm 10. ENERGY EFFICIENCY 10.1 Product Information Sheet according to UK Ecodesign Regulation Model identification IAE84881FB Type of hob Built-In Hob Number of cooking zones Heating technology Induction Diameter of circular cooking zones (Ø) Left front 21.0 cm... - Page 16 www.aeg.com/shop...


