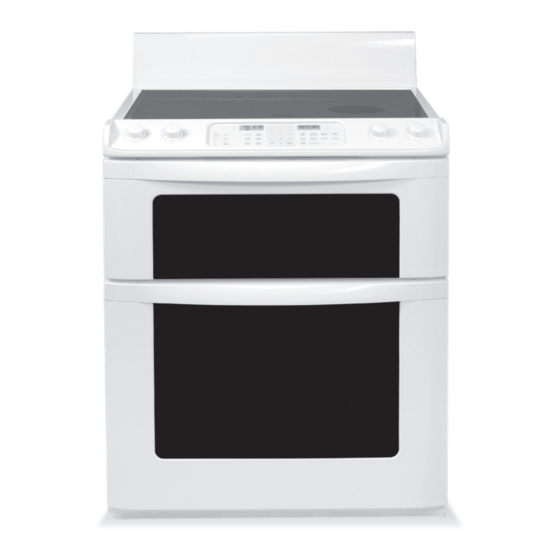
Sharp KB-3411JK Install Manual
30” freestanding range
Hide thumbs
Also See for KB-3411JK:
- Supplemental service manual (60 pages) ,
- Operation manual (40 pages) ,
- Installation manual (8 pages)
Table of Contents
Advertisement
Quick Links
SPECIAL WARNING
INSTALLATION AND SERVICE MUST BE PERFORMED BY A QUALIFIED INSTALLER.
IMPORTANT: SAVE THIS INSTALLATION MANUAL FOR LOCAL ELECTRICAL
INSPECTOR'S USE.
READ AND SAVE THESE INSTRUCTIONS FOR FUTURE REFERENCE.
CLEARANCES & DIMENSIONS
For SAFETY CONSIDERATIONS do not install a range in any combustible cabinetry which is not in
accord with the stated clearances and dimensions on page 2. See Figures 1 and 2.
RANGE MEASUREMENTS ......................................2
CLEARANCES AND DIMENSIONS ..............................2
IMPORTANT NOTES .............................................2
UNPACKING AND EXAMINING YOUR RANGE .................3
IMPORTANT SAFETY INSTRUCTIONS .........................3
30" Freestanding Range
INSTALLATION MANUAL
ELECTRICAL CONNECTIONS ................................ 3-5
ADJUSTABLE BACKSPLASH ...................................6
ANTI-TIP .......................................................7
MODEL AND SERIAL NUMBER LOCATION ....................8
CARE, CLEANING AND MAINTENANCE ......................8
1
Advertisement
Table of Contents

Summary of Contents for Sharp KB-3411JK
-
Page 1: Table Of Contents
READ AND SAVE THESE INSTRUCTIONS FOR FUTURE REFERENCE. CLEARANCES & DIMENSIONS For SAFETY CONSIDERATIONS do not install a range in any combustible cabinetry which is not in accord with the stated clearances and dimensions on page 2. See Figures 1 and 2. -
Page 2: Range Measurements
• Contact surface must be solid and level. Pay special attention to the fl oor. Be sure it is solid enough for the weight of the range. Check that the fl oor covering is smooth and fl at and that it adheres to the sub-fl oor solidly. -
Page 3: Unpacking And Examining Your Range
Never leave children alone or unattended in the area where an range is in use. As children grow, teach them the proper, safe use of all ranges. Never leave the oven door open when the range is unattended. - Page 4 208/240 VOLT CONNECTION INSTRUCTIONS 180˚ The range can be set for 208V or 240V. The voltage setting for your range is pre-set at 240V from the factory. Follow these steps to change the voltage setting. 1 Locate the voltage switch on the lower back side of the range.
- Page 5 KEEP the ground screw, ground plate and go to step 4. 4 Connect the green ground wire lead to the frame of the range using the ground screw and plate as shown in Figure 11. Be sure to install using the same hole in the frame where the ground screw was originally installed.
-
Page 6: Adjustable Backsplash
INSTALLATION MANUAL ADJUSTABLE BACKSPLASH The range backsplash is adjustable so that you can customize it for your particular kitchen situation. The height can be adjusted from the low position (6-inches high) to the highest position (12-inches high) in one inch increments. -
Page 7: Anti-Tip
floor by properly installed Anti-Tip bracket and screws packed with the range. Failure to install the Anti-Tip bracket will allow the range to tip over if excessive weight is placed on an open door or if a child climbs upon it. Serious injury might result from spilled hot liquids or from the range itself. -
Page 8: Model And Serial Number Location
Finish removing the unit for servicing and cleaning. Reinstall in reverse order making sure to level the range and check electrical connections. See pages 2 and 3 for proper anchoring instructions.


