Advertisement
Advertisement
Table of Contents

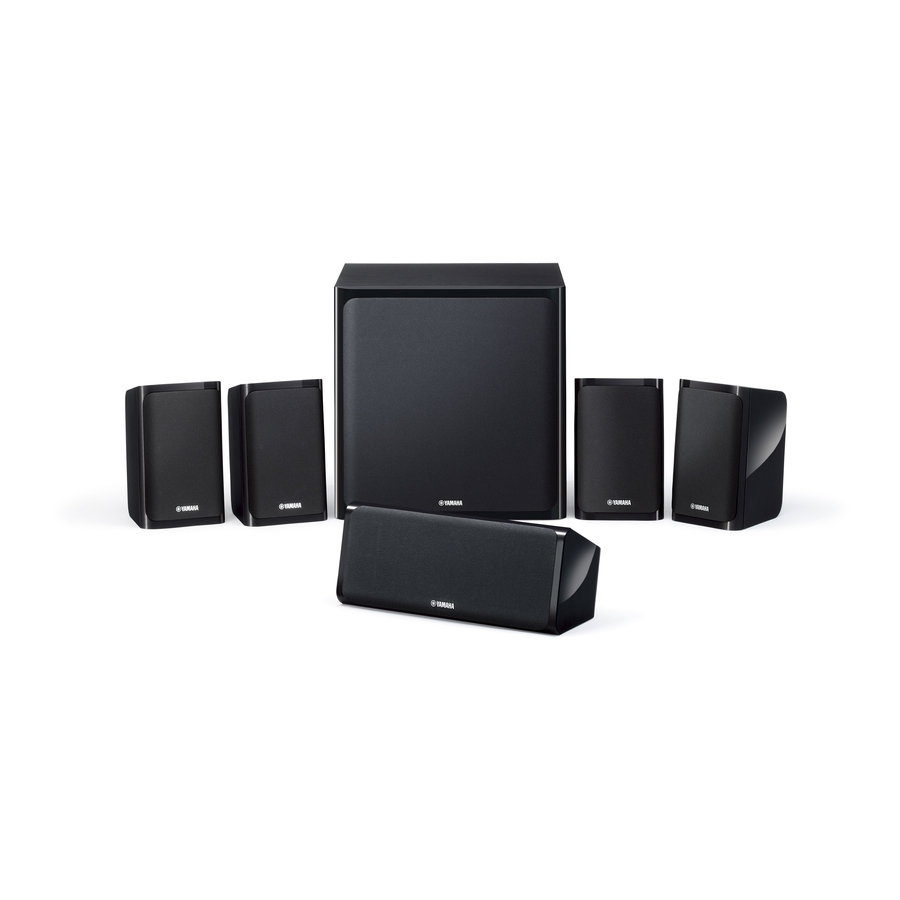
Summary of Contents for Yamaha NS-P40
- Page 1 (NS-B40 + NS-C40 + NS-SW40) SPEAKER PACKAGE PACKAGE ENCEINTES OWNER'S MANUAL MODE D'EMPLOI...
-
Page 2: Important Safety Instructions
IMPORTANT SAFETY INSTRUCTIONS Read these instructions. Keep these instructions. Heed all warnings. Follow all instructions. Do not use this apparatus near water. Clean only with dry cloth. Do not block any ventilation openings. Install in accordance with the manufacturer’s instructions. Do not install near any heat sources such as radiators, heat registers, stoves, or other apparatus (including Explanation of Graphical Symbols... - Page 3 If these corrective measures do not produce satisfactory results, please contact the local retailer authorized to distribute this type of product. If you can not locate the appropriate retailer, please contact Yamaha Electronics Corp., USA 6660 Orangethorpe AV., Buena Park, CA 90620.
- Page 4 As the colours of the wires in the mains lead of this the unit, and/or personal injury. Yamaha is not apparatus may not correspond with the coloured responsible for damage resulting from use of this unit markings identifying the terminals in your plug, with a voltage other than specified.
-
Page 5: Table Of Contents
Contents Package contents..........1 Connecting the speakers ........3 Connection diagram..........3 Installing the speakers........1 Connecting the power cables ......4 Installing the front, center, and surround Using the Subwoofer ......... 4 speakers ............2 Installing the subwoofer........2 Setting the subwoofer volume ......4 Wall-mounting the speakers........2 Troubleshooting .......... -
Page 6: Installing The Front, Center, And Surround Speakers
Installing the speakers Installing the front, center, Wall-mounting the speakers and surround speakers You can mount the speakers on the wall as follows. Front speakers: Place the two front speakers on the Install screws into a solid wall or wall support left and right sides of the TV facing directly forward. -
Page 7: Connecting The Speakers
Connecting the speakers Caution: Make sure the power cables for the subwoofer and your other AV components are disconnected from the AC wall outlets before making any connections. Connection diagram Surround speakers Right Left Center speaker SPEAKERS FRONT SURROUND CENTER Amplifier ANTENNA HDMI OUT... -
Page 8: Connecting The Power Cables
In your AV receiver’s speaker size settings, specify Insert the bare wire. small (or “S”) for all of the NS-P40 speakers. Release the tab so that it closes securely on the If you’re connecting the subwoofer to a Yamaha DSP bare wire, not the insulation. -
Page 9: Troubleshooting
If this product doesn’t work as expected, look for a possible cause below. If the issue you are experiencing is not listed, or you cannot resolve it after reading through these instructions, disconnect the power cable and contact an authorized Yamaha dealer or service center. ■ Front, surround speakers (NS-B40) and center speaker (NS-C40) -
Page 10: Specifications
Specifications ■ Front, surround speakers (NS-B40) and ■ Subwoofer (NS-SW40) center speaker (NS-C40) Type ....Advanced Yamaha Active Servo Technology II Driver ..........16 cm (6-1/2") cone woofer Type non magnetic shielding type NS-B40 ........... Full range bass reflex non magnetic shielding type Amp output power.... -
Page 11: Fiche Technique
Fiche technique ■ Enceintes avant, surround (NS-B40) et ■ Subwoofer (NS-SW40) enceinte centrale (NS-C40) Type ....Advanced Yamaha Active Servo Technology II Haut-parleur ........Grave à cône de 16 cm Type blindage non magnétique NS-B40 ......Système bass reflex pleine gamme blindage non magnétique Puissance de sortie de l’amplificateur......


