Advertisement
Table of Contents
- 1 Table of Contents
- 2 How to Use this Manual
-
3
How to Adjust
- 3.1 Height of Needle Bar
- 3.2 Position of the Lowerlooper
- 3.3 Timing of the Double Chain Looper
- 3.4 Timing of the Lowerlooper
- 3.5 Height of Feed Dog (with a Differential Feed Dog)
- 3.6 Feed Timing
- 3.7 Height of Presser Bar
- 3.8 Thread Tension Adjustment
- 3.9 Position of Thread Take-Up
- 3.10 Position of Looper Thread Take-Up
- 3.11 Adjustment and Replacement for the Timing Belt
- 3.12 Changing the Light Bulb
- Download this manual
See also:
Operating Manual
Advertisement
Table of Contents

Summary of Contents for Brother 2340CV
-
Page 2: Table Of Contents
CONTENTS HOW TO USE THIS MANUAL........2 HOW TO ADJUST............3 Height of needle bar ............ 3 Position of the lowerlooper .......... 4 Timing of the double chain looper ....... 5 Timing of the lowerlooper ..........6 Height of feed dog (with a differential feed dog)..7 Feed timing.............. -
Page 3: How To Use This Manual
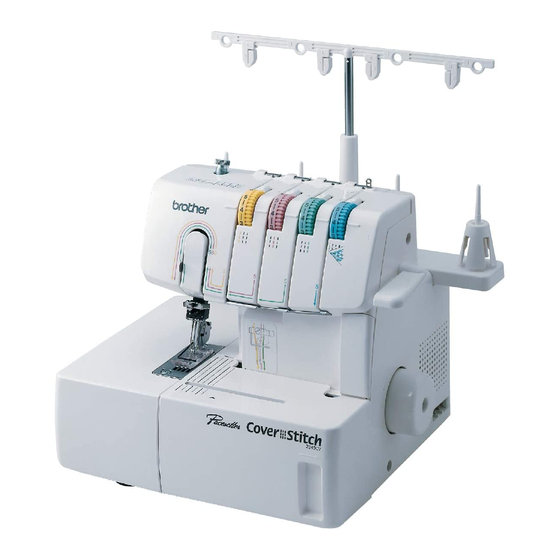
HOW TO USE THIS MANUAL This service manual is compiled as a guide for the repair and service of Brother Cover Stitch Machine model 2340CV. Almost all troubles or problems occurring on Homelock sewing machines which arise as the result of the user's lack of knowledge or experience can be solved by following instruction book. -
Page 4: How To Adjust
HOW TO ADJUST..Height of needle bar Left needle (Three needle models) 5.8 - 6.2 mm How to use the gauge SCHMETZ 130/705H #90 Needle plate Needle descents 1. Raise the needle to its highest position. 2. Loosen the screw on the needle bar. 3. -
Page 5: Position Of The Lowerlooper
HOW TO ADJUST..Position of the double chain looper Double chain looper Set screw DL lever 1. Before adjusting the timing, position the double chain looper correctly. 2. Too much adjustment will cause damage to other parts or cause the needle to skip stitches. How to use the gauge 1. -
Page 6: Timing Of The Double Chain Looper
HOW TO ADJUST..Timing of the double chain looper Left needle Right needle (Three needle models) 0 - 0.05 mm Movable Double chain needle guard looper Movable needle guard 0 - 0.05 mm 3 mm ± 0.2 0 - 0.05 mm Bolt 5 ×... -
Page 7: Timing Of The Lowerlooper
HOW TO ADJUST..Timing of the double chain looper Presser bar Gauge Needle bar Gauge Spacer 3.0 mm Needle clamp How to use the gauge 1. Raise the presser bar and remove the presser foot and presser foot holder. 2. Lower the needle bar to its lowest position. 3. -
Page 8: Height Of Feed Dog (With A Differential Feed Dog)
HOW TO ADJUST..Height of feed dog (with a differential feed dog) Main feed dog Set screw Differential feed Set screw Vertical adjusting shaft Screw 4 × 4 Adjustment for height of main feed dog 1. Open the cloth plate cover, and raise needle at its highest position by turning handwheel. 2. -
Page 9: Feed Timing
HOW TO ADJUST..Feed timing Hexagonal wrench Set screw, socket Right needle M 5 × 6 (Three needles models) Feed link Needle plate 0.2 - 0.4mm Feed dog, front Feed dog, back Feed eccentric wheel The standard timing of the feeding: Main feed dog should be at the same level as upper surface of needle plate when needle goes down and point of it touches upper surface of needle plate. -
Page 10: Height Of Presser Bar
HOW TO ADJUST..Height of presser bar Set screw 5.95 Presser bar Presser foot c 2’ 4.8 - 5.0 mm (1st step) Presser bar guide bracket How to use the gauge Needle Gauge descents Presser bar c Needle plate Before adjustment, remove the panel assembly. Then turn the handwheel and raise the needle to its highest position. -
Page 11: Thread Tension Adjustment
HOW TO ADJUST..Thread tension adjustment For normal operation Plate Notch of dial clutch Thread tension nut For adjustment Pull the notch Clutch will be released Notch of dial clutch Dial clutch 1. Set the thread tension dial to "4" on the dial scale. 2. -
Page 12: Position Of Thread Take-Up
HOW TO ADJUST..Position of thread take-up 1. Lower the needle to its lowest position. 2. Loosen the set screw and position the thread take up below the thread retainer by 0 - 1.5 mm. Thread retainer 0 - 1.5 mm Thread take-up Set screw... -
Page 13: Position Of Looper Thread Take-Up
HOW TO ADJUST..Position of looper thread take-up 1. Loosen the thread take-up set screw. 2. Turn the pulley until the thread take-up is at its highest position, and adjust the distance from the F-cover hinge to the thread take-up as shown in the illustration below. 3. -
Page 14: Adjustment And Replacement For The Timing Belt
HOW TO ADJUST..Adjustment and replacement for the timing belt Presser lever Cloth plate cover c Front cover Belt cover c Rear cover c 1. Remove the the cloth plate cover c. 2. Remove the presser lever. 3. Slide the belt cover c downward to remove it. 4. -
Page 15: Changing The Light Bulb
HOW TO ADJUST..Changing the light bulb Screw, bind M 4 × 6 Light bulb Lamp cover Light bulb cover Light bulb cover Screw bind M 4 × 6 Caution! Always be sure to turn off the power before carrying out the following operation. Changing the light bulb ·...


