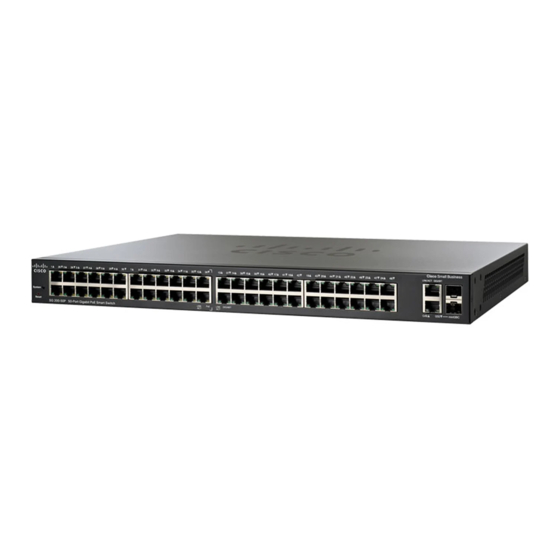
Cisco SF 200-24P Quick Start Manual
200 series smart switches
Hide thumbs
Also See for SF 200-24P:
- Administration manual (337 pages) ,
- Quick start manual (72 pages) ,
- Datasheet (11 pages)
Advertisement
Table of Contents
- 1 Quick Start Guide
- 2 Mounting the Cisco Switch
- 3 Connecting Network Devices
- 4 Rack-Mount Placement
- 5 Power over Ethernet Considerations
- 6 Accessing/Managing Switch Using Web Interface
- 7 Configuring the Cisco Small Business Smart Switch
- 8 Troubleshoot Your Connection
- 9 Additional Features
- 10 Where to Go from here
- Download this manual
See also:
Administration Manual
Advertisement
Table of Contents

Summary of Contents for Cisco SF 200-24P
-
Page 1: Quick Start Guide
Quick Start Guide Cisco Small Business 200 Series Smart Switches... -
Page 2: Mounting The Cisco Switch
Package Contents • Cisco SF 200-24, SF 200-24P, SF 200-48, SF 200-48P, SG 200-18, SG 200-26, SG 200-26P, SG 200-50, or SG 200-50P Smart Switch. • Rackmount Kit. • Power Cord. -
Page 3: Connecting Network Devices
Ethernet ports. The LED of the port lights if the device connected is active. Refer to Features of the Cisco Small Business Smart Switch, page 7 details about the different ports and LEDs on each switch. Repeat Step 1 the smart switch. -
Page 4: Accessing/Managing Switch Using Web Interface
IP address of the switch. The default configuration of the switch is to use its factory default IP address of 192.168.1.254 until it has obtained an IP address from a DHCP server, or it has been changed to a static IP address. - Page 5 Open a Web browser window. If you are prompted to install an Active-X plug-in when connecting to the device, follow the prompts to accept the plug-in. Enter the switch IP address in the address bar and press Enter. For example, http://192.168.1.254. The Smart Switch Login page displays.
-
Page 6: Troubleshoot Your Connection
IP address. For example ping 192. 1 68. 1 .254 (the default IP address of the smart switch). If you can reach the switch, you should get a reply similar to the following: Pinging 192.168.1.254 with 32 bytes of data: Reply from 192.168.1.254: bytes=32 time<1ms TTL=128... - Page 7 • MiniGBIC ports are compatible with Cisco miniGBIC modules MGBSX1, MGBLH1, MGBLX1, MGBBX1, MFELX1, MFEFX1, and MFEBX1, as well as other brands of miniGBIC modules.
-
Page 8: Additional Features
RJ-45 port. Flashes when the port is passing traffic. Additional Features The switch might also have a reset button. The switch can be reset by inserting a pin or paper clip into the reset opening. See Device to the Factory Default Settings”... - Page 9 Back Panel The power port is located on the back panel of the smart switch. Returning the Device to the Factory Default Settings To use the Reset button to reboot or reset the smart switch, do the following: • To reboot the smart switch, press the seconds.
-
Page 10: Where To Go From Here
Select a link to download firmware for Cisco Small Business Products. No login is required. Downloads for all other Cisco Small Business products, including Network Storage Systems, are available in the Download area on Cisco.com at www.cisco.com/go/software... - Page 11 200 Series Smart Switches...
- Page 12 Cisco, Cisco Systems, the Cisco logo, and the Cisco Systems logo are registered trademarks or trademarks of Cisco and/or its affiliates in the United States and certain other countries. All other trademarks mentioned in this document or website are the property of their respective owners.


