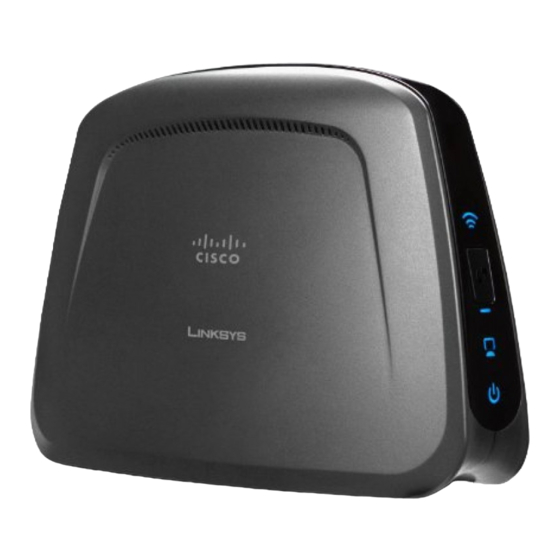
Cisco Linksys WET610N Quick Installation Manual
Wireless-n ethernet bridge with dual-band
Hide thumbs
Also See for Linksys WET610N:
- User manual (286 pages) ,
- Quick installation manual (78 pages) ,
- Configuring (3 pages)
Summary of Contents for Cisco Linksys WET610N
-
Page 1: Quick Installation Guide
QUICK INSTALLATION GUIDE Wireless-N Ethernet Bridge with Dual-Band WET610N Model: Package Contents • Wireless-N Ethernet Bridge with Dual-Band • Setup Software and User Guide on CD-ROM • Quick Installation Guide • Network Cable • Power Adapter... -
Page 3: Installation
WET610N Installation Installation Insert the Setup Wizard CD into your CD-ROM drive. NOTE: Windows or other personal firewalls may ask for permission to run the software. To continue, Insert the CD-ROM allow the software to run. The Welcome screen appears. - Page 4 Installation WET610N Connect one end of the included network cable to the Ethernet port of the Bridge. Click Next. Connect the other end of the cable to one of the local network ports on your router. Click Next. Connect the included power adapter to the Power port of the Bridge.
- Page 5 WET610N Installation Wait until the Power and Ethernet LEDs are solidly lit. Click Next. Enter a password to protect access to the Bridge. Click Next. The wireless setup is next. Click Next. The Setup Wizard displays the Network Name of the wireless network with the strongest signal.
- Page 6 Installation WET610N The available networks are listed in the table. Select your network, and then click Next. (If your router supports Wi-Fi Protected Setup, which is indicated by the icon next to the network name, then proceed to the section, “Wi-Fi Protected Setup”.)
- Page 7 WET610N Installation Please wait while the Setup Wizard connects the Bridge to your wireless network. Warnings from your firewall or security application may appear. If necessary, click Always allow or Allow this time only to allow the wireless connection. You will connect the Bridge to the device that you want to equip with wireless.
- Page 8 Installation WET610N Wait until the Power and Ethernet LEDs are solidly lit, and the Wireless LED is flashing. Click Next. The wireless settings are displayed. To save the settings in a text file on your desktop, keep the default, Save these settings in a text file on my desktop.
-
Page 9: Wi-Fi Protected Setup
WET610N Wi-Fi Protected Setup Wi-Fi Protected Setup Use Wi-Fi Protected Setup to create a wireless connection between the Bridge and your Wi-Fi Protected Setup Button on Router router. On your router, press the button that looks like one of the icons in the picture. - Page 10 Wi-Fi Protected Setup WET610N Connect the free end of the network cable to the device that you want to equip with wireless. If you need to move the Bridge, then make sure you take the power adapter and network cable with you.
- Page 12 800-546-5797 (800-LINKSYS) Linksys, Cisco and the Cisco Logo are registered trademarks or trademarks of Cisco Systems, Inc. and/or its affiliates in the U.S. and certain other countries. Copyright © 2009 Cisco Systems, Inc. All rights reserved. Other brands and product names are trademarks or registered trademarks of...


