Table of Contents
Advertisement
Quick Links
Operator's Manual
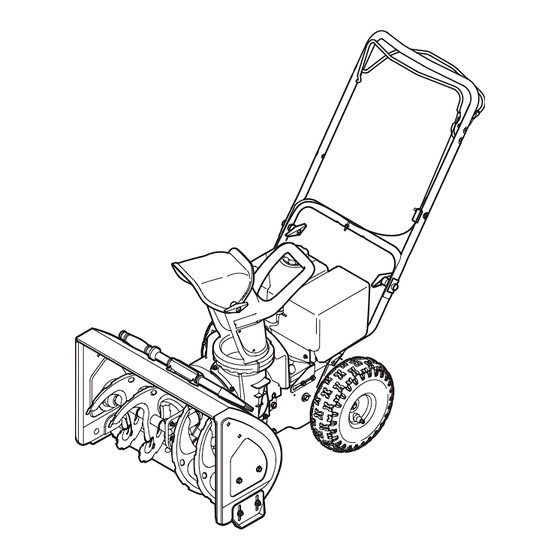
22" Snowthrower
Model No. C459-52093
CAUTION: Before using this
product, read this manual
and follow all safety rules
and operating instructions.
Sears Canada Inc., 290 Yonge Street, Toronto, On M5B 2C3
®
Visit our web: sears.ca
• SAFETY
• ASSEMBLY
• OPERATION
• MAINTENANCE
• PARTS LIST
FORM NO. 769-06452
9/16/10
Advertisement
Table of Contents

Summary of Contents for Craftsman C459-52093
- Page 1 Operator’s Manual ® 22” Snowthrower Model No. C459-52093 • SAFETY • ASSEMBLY • OPERATION • MAINTENANCE • PARTS LIST CAUTION: Before using this product, read this manual and follow all safety rules and operating instructions. Sears Canada Inc., 290 Yonge Street, Toronto, On M5B 2C3 FORM NO.
-
Page 2: Sears Service
02488 199260 07.21.05 BY Printed in U.S.A. -
Page 3: Table Of Contents
Tire replacement or repair caused by punctures from outside objects, such as nails, thorns, stumps or glass. Warranty service is available by returning the Craftsman Snow Thrower to the nearest Sears Service Centre/Department in Canada. This warranty applies only while this product is in use in Canada. -
Page 4: Safety Instructions
SAFETY INSTRUCTIONS Warning Danger This machine was built to be operated according to the rules for This symbol points out important safety instructions safe operation in this manual. As with any type of power equipment, which, if not followed, could endanger the personal carelessness or error on the part of the operator can result in serious safety and/or property of yourself and others. - Page 5 SAFETY INSTRUCTIONS 5. Never run an engine indoors or in a poorly ventilated area. Engine exhaust 3. Check bolts and screws for proper tightness at frequent intervals to keep contains carbon monoxide, an odorless and deadly gas. the machine in safe working condition. Also, visually inspect machine for any damage.
-
Page 6: Safety Symbols
SAFETY SYMBOLS This page depicts and describes safety symbols that may appear on this product. Read, understand, and follow all instructions on the machine before attempting to assemble and operate. Symbol Description READ THE OPERATOR’S MANUAL(S) Read, understand, and follow all instructions in the manual(s) before attempting to assemble and operate. -
Page 7: Assembly
ASSEMBLY & SET-UP IMPORTANT: Your snowthrower may or may not have been shipped with oil in the engine. You must, however, check the oil level prior to operating the snowthrower. Running the engine with insufficient oil can cause serious engine damage and void the engine warranty. - Page 8 ASSEMBLY & SET-UP Clean-Out Tool This tool and the electric extension cord, if so equipped, may be fastened with a cable tie to the rear of the auger housing for shipping purposes. In that case, cut the cable tie and remove the extension cord Drive Cable now.
-
Page 9: Know Your Snowthrower
KNOW YOUR SNOWTHROWER Upper Handle Auger Control Drive Control Chute Handle Chute Assembly Fuel Cap Muffler Recoil Starter Handle Clean- out Tool Oil Cap Primer Ignition Throttle Contro l Choke Auger Shave Plate Oil Drain Skid Shoe Figure 7 Chute Assembly Be familiar with all the controls on the snow thrower and their proper operation. -
Page 10: Operation
OPERATION WARNING: Read, understand, and follow all Insert ignition key fully into slot. Make sure it snaps into place. DO instructions and warnings on the machine and in NOT turn ignition key. The engine cannot start unless the key this manual before operating. is inserted into ignition switch. - Page 11 OPERATION Stopping the Engine Operating Tips • For most efficient snow removal, remove snow immediately after it WARNING: To avoid unsupervised engine operation, falls. never leave the engine unattended while running. • Set the slide shoes 1/4” below the shave plate for normal usage. Turn the engine off after use and remove ignition key The slide shoes may be adjusted to low position for hard-packed Run engine for a few minutes before stopping to help dry off any...
-
Page 12: Maintenance & Service
Shear Pin MAINTENANCE & SERVICE Cotter Pin general Recommendations Shear Pin Cotter Pin 1. Always observe safety rules when performing any maintenance. 2. The warranty on this snow thrower does not cover items that have Skid Shoe been subjected to operator abuse or negligence. To receive full value from the warranty, operator must maintain the snow thrower as instructed in this manual. - Page 13 MAINTENANCE & SERVICE Auger Belt 1. Remove the self tapping screw which secures the belt cover to the frame. Remove the belt cover by pushing in on the sides of the cover to release the plastic tabs. Pull the belt cover out from around the engine and chute.
-
Page 14: Off-Season Storage
MAINTENANCE & SERVICE Auger Cable Periodic adjustment to the auger control cable may be required due to normal stretch and wear on the belt. Adjustment is needed if the augers seem to hesitate while turning, but the engine maintains speed, or continue turning with the auger control disengaged. -
Page 15: Troubleshooting
TROUBLESHOOTING This section addresses minor service issues. To locate the nearest Sears Service Center or to schedule service, simply contact Sears at www.sears.ca. Problem Cause Remedy 1. Wait at least ten minutes before starting. 1. Engine flooded from excessive priming. Engine fails to start 2. -
Page 16: Parts List
PARTS LIST/PIÈCES DÉTACHÉES... - Page 17 PARTS LIST/PIÈCES DÉTACHÉES PART N° DE N° DE RÉF PIÈCE DE SCRIP TION DE SCRIP TION 684-04037 Chute As sem bly Goulotte 710-04071 Car riage Screw 5/16-18 x 1.0 Vis ordi naire 5/16-18 x 1,0 710-0451 Car riage Bolt 5/16-18 x .75 Boulon ordi naire 5/16-18 x 0,75 710-04606A Screw 5/16-18 x .43...
- Page 18 PARTS LIST/PIÈCES DÉTACHÉES...
- Page 19 PARTS LIST/PIÈCES DÉTACHÉES PART N° DE N° DE RÉF PIÈCE DE SCRIP TION DE SCRIP TION 710-0449 Car riage Bolt 5/16-18 x 2.25 Gr. 1 Boulon ordi naire 5/16-18 x 2,25 Qual 710-0606 Hex. Hd. Cap Screw 1/4-20 x 1.5" Lg. Vis à...


