Dell Latitude 7230 User Manual
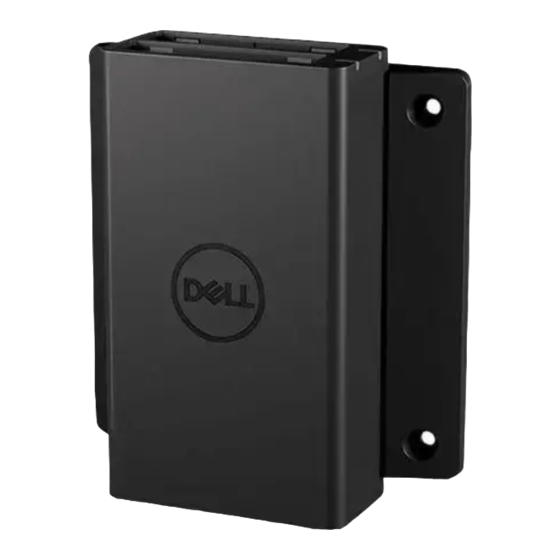
Mobile battery charger for rugged extreme tablet
Hide thumbs
Also See for Latitude 7230:
- Setup and specifications (29 pages) ,
- Service manual (104 pages) ,
- Manual (19 pages)
Summary of Contents for Dell Latitude 7230
- Page 1 Dell Mobile Battery Charger for Latitude 7230 Rugged Extreme Tablet User’s Guide Rugged Tablet Model: Latitude 7230 Regulatory Model: CHRG01M18...
- Page 2 WARNING: A WARNING indicates a potential for property damage, personal injury, or death. Copyright © 2022 Dell Inc. or its subsidiaries. All rights reserved. Dell, EMC, and other trademarks are trademarks of Dell Inc. or its subsidiaries. Other trademarks may be trademarks of their respective owners. 2022 – 11...
-
Page 3: Table Of Contents
Contents Features ........4 Setting up the charger ..... . . 5 LED indicators . -
Page 4: Features
Features 1. Battery compartments 2. LED indicators 3. Power-adapter port (USB Type-C) 4. Power-adapter port (4.5 mm DC-in) 5. 10 W USB power-output port │ Features... -
Page 5: Setting Up The Charger
WARNING: Before you begin any of the procedures in this section, read the safety information that is shipped with your charger and tablet. For additional best practices information, see www.dell.com/regulatory_compliance. 1. Connect either a 4.5 mm DC-in or USB Type-C power adapter to the corresponding power adapter port on the charger. - Page 6 NOTE: When two batteries are inserted at the same time, the battery in the front compartment (closest to the Dell logo) will charge first. Once the front battery is fully charged, the battery in the rear compartment will begin charging.
- Page 7 3. (Optional) Connect a device to the 10 W USB power output port to charge the device. │ Setting up the charger...
-
Page 8: Led Indicators
No battery inserted or battery fully charged Solid green Battery charging Solid amber Battery at a very low power level Alternating amber and green Unsupported (non-Dell) battery inserted flashes Flashing amber (4x) then a Fatal battery failure single green flash Installing the charger on a wall The charger comes pre-installed on the wall mount. -
Page 9: Removing The Mount From The Charger
Remove the M2x5 screw from the rear side of the charger, and then remove the mount from the charger. M2x5 Troubleshooting NOTE: You can only use the battery charger with batteries from selected Dell tablets. For a list of supported devices, see www.dell.com. Problem Possible solutions Cannot charge the inserted 1.


