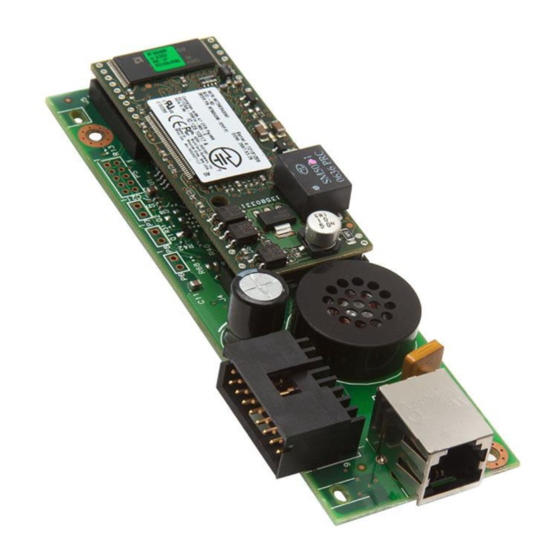
HP MFP Analog Fax Accessory 300 Supplementary Manual
Hp laserjet,color laserjet mfp analog fax accessory 300 fax machine-accessory: supplementary guide
Hide thumbs
Also See for MFP Analog Fax Accessory 300:
- Fax manual (444 pages) ,
- User manual (264 pages) ,
- Software manual (8 pages)
Table of Contents
Advertisement
Quick Links
Download this manual
See also:
User Manual
Advertisement
Table of Contents

Summary of Contents for HP MFP Analog Fax Accessory 300
- Page 1 HP LaserJet MFP Analog Fax Accessory 300 Supplemental Information...
- Page 3 HP LaserJet MFP Analog Fax Accessory 300 Supplemental Information...
- Page 4 Nothing herein should be construed as constituting an additional warranty. HP shall not be liable for technical or editorial errors or omissions contained herein. Edition 1, 9/2005 Safety Information...
-
Page 5: Table Of Contents
Contents Contents 1 Introduction New features ..........1 2 Canceling a fax with the Stop button Canceling a fax using the Stop button. - Page 6 iv Chapter Contents ENWW...
-
Page 7: Introduction
Introduction This supplemental information document outlines several new features that have been introduced for the HP LaserJet MFP Analog Fax Accessory 300. New features New features include: ● Canceling a fax using the Stop button. ● Speed dial capabilities: • Deleting a single name from a speed dial list. - Page 8 MFP printer firmware update. Fax firmware updates are part of the MFP firmware (separate fax firmware is not available). Be sure to keep this supplemental information with the HP LaserJet MFP Fax Accessory User Guide originally supplied with your MFP or fax accessory.
-
Page 9: Canceling A Fax With The Stop Button
Exit returns to the Fax screen. This new feature is already installed in some new MFPs and is available through an MFP firmware update for other models. Check the HP Web site to determine which updates are available for your MFP model. ENWW... - Page 10 4 Chapter 2 Canceling a fax with the Stop button ENWW...
-
Page 11: Changes To The Fax User Interface
Changes to the fax user interface The fax user interface for the HP LaserJet 9040/9050 and HP Color LaserJet 9500mfp has been upgraded to match that of the HP LaserJet 4345 and HP Color LaserJet 4730mfp. These features are already available and documented for the Note HP LaserJet 4345 and HP Color LaserJet 4730mfp. -
Page 12: Fax User Interface
Fax user interface The new fax user interface is depicted below. Fax feature screen 6 Chapter 3 Changes to the fax user interface Status message bar Fax recipients One-touch buttons Phone book (DSS) Next number Settings Remove Speed dial Notify Configure Start Back... -
Page 13: Using The Notify Feature
Using the Notify feature This feature is new for the HP LaserJet 9040/9050mfp and HP Color Note LaserJet 9500mfp. As shown at callout 9 on the fax feature screen illustration, the new fax user interface contains a Notify button at the bottom of the screen. -
Page 14: Create A Speed Dial List
Create a speed dial list On the control panel main screen, touch the FAX icon to display the Fax screen. Touch Speed Dial to display the Speed Dial screen. Touch Add. Type a fax number using the keypad. If you wish to enter more than one number, touch Next Number and enter another number. - Page 15 • Touch Reassign to assign a different speed dial name to the key. • Touch Cancel to return to the One Touch Button Configuration screen. Touch OK to accept the settings. ENWW Assigning speed dial lists to one-touch keys 9...
- Page 16 10 Chapter 3 Changes to the fax user interface ENWW...
-
Page 17: Speed Dial Features
Speed dial features Several new speed dial features have been added to the HP LaserJet 9040/9050mfp, HP Color LaserJet 9500mfp, HP LaserJet 4345mfp, and HP Color LaserJet 4730mfp faxing capabilities. These features are: ● Deleting a single name from a speed dial list. -
Page 18: Adding A Number To A Speed Dial
Adding a number to a speed dial This feature is new for the HP LaserJet 4345mfp, HP Color LaserJet Note 4730mfp, HP LaserJet 9040/9050mfp, and HP Color LaserJet 9500mfp. This feature lets you add a new number to an existing speed dial. To use the speed dial add feature, perform the following steps. - Page 19 Select the speed dial name(s) from the list and touch OK to place the speed dial(s) in the recipients list of the fax screen. If you do not know the unique name of the speed dial, you can select Note any portion of the list to search by entering a letter.
- Page 20 14 Chapter 4 Speed dial features ENWW...
-
Page 21: Fax Dss Phone Book Search
4730mfp, HP LaserJet 9040/9050mfp, and HP Color LaserJet 9500mfp. Check the HP Web site to determine if firmware updates are available for your MFP model. If you are not using DSS, the fax phone book will not appear on the Note MFP display. - Page 22 If you do not know the unique name of the destination, press the phone book icon at the top of the screen to display the phone book listing. Scroll to the desired entries, touch Add, and then touch OK. The names will be displayed in the Search Phone Book entry list. Touch OK on this screen to place the entry on the Fax Recipients list of the Fax screen.
- Page 24 © 2005 Hewlett-Packard Development Company, L.P. www.hp.com...


