Table of Contents
Advertisement
Quick Links
Advertisement
Table of Contents

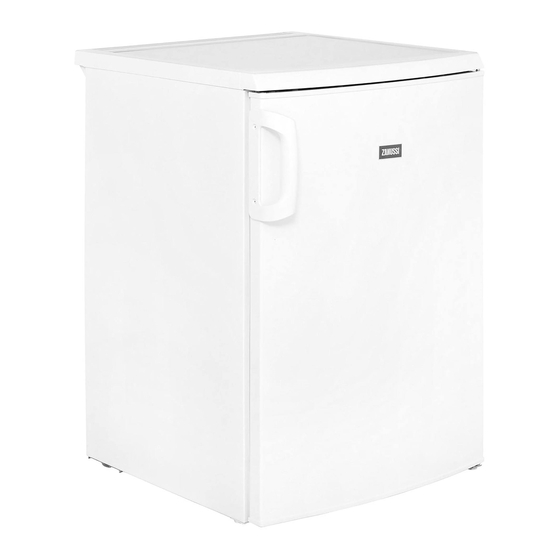
Summary of Contents for Zanussi ZRG16602WV
- Page 1 User Manual GETTING STARTED? EASY. ZRG16602WV EN User Manual Refrigerator...
-
Page 2: Safety Information
SAFETY INFORMATION Before the installation and use of the appliance, carefully read the supplied instructions. The manufacturer is not responsible for any injuries or damages that are the result of incorrect installation or usage. Always keep the instructions in a safe and accessible location for future reference. -
Page 3: Safety Instructions
Do not damage the refrigerant circuit. • Do not use electrical appliances inside the food storage • compartments of the appliance, unless they are of the type recommended by the manufacturer. Do not use water spray and steam to clean the appliance. •... -
Page 4: Operation
• Do not put electrical appliances (e.g. ice cream • Before maintenance, deactivate the appliance makers) in the appliance unless they are stated and disconnect the mains plug from the mains applicable by the manufacturer. socket. • Be careful not to cause damage to the •... -
Page 5: Daily Use
DAILY USE 1. Gradually pull the shelf in the direction of the WARNING! Refer to Safety chapters. arrows until it comes free. 2. Reposition as required. MOVABLE SHELVES The walls of the refrigerator are equipped with a series of runners so that the shelves can be positioned as desired. -
Page 6: Care And Cleaning
onions and garlic must not be kept in the • Bottles: close with a cap and place on the door refrigerator if not packed. bottle shelf, or (if available) on the bottle rack. • Butter and cheese: place in a special airtight container or wrap in an aluminium foil or a polythene bag to exclude as much air as possible. -
Page 7: Troubleshooting
WARNING! If you want to keep the appliance switched on, ask somebody to check it once in a while to prevent the food inside from spoiling in case of a power failure. TROUBLESHOOTING WARNING! Refer to Safety chapters. WHAT TO DO IF... Problem Possible cause Solution... -
Page 8: Replacing The Lamp
Problem Possible cause Solution Food products prevent that Make sure that food products water flows into the water col- do not touch the rear plate. lector. Water flows on the floor. The melting water outlet is not Attach the melting water outlet connected to the evaporative to the evaporative tray. -
Page 9: Closing The Door
1. Using a screwdriver, remove the screw from 4. Reassemble the lamp cover. the lamp cover. 5. Tighten the screw to the lamp cover. 2. Detach the lamp cover in the direction of the 6. Connect the plug to the mains socket. arrows. -
Page 10: Door Reversibility
100 mm 15 mm 15 mm 6. Fit the appliance door on the upper door hinge DOOR REVERSIBILITY pin. 7. Remove the lower hinge. Put over the pin in the WARNING! Before carrying out any direction of the arrow. operations, remove the plug from the 8. -
Page 11: Technical Data
• A - green and yellow: Earth Do a final check to make sure that: • C - brown: Live • All screws are tightened. • D - blue: Neutral • The magnetic seal adheres to the As the colours of the wires in the mains lead of this cabinet. -
Page 12: Environmental Concerns
Width Depth Voltage Volts 230 - 240 Frequency The technical information is situated in the rating plate, on the external or internal side of the appliance and in the energy label. ENVIRONMENTAL CONCERNS with the symbol with the household waste. Recycle materials with the symbol . - Page 16 WWW.ZANUSSI.COM/SHOP...


