Table of Contents
Advertisement
Quick Links
Advertisement
Table of Contents

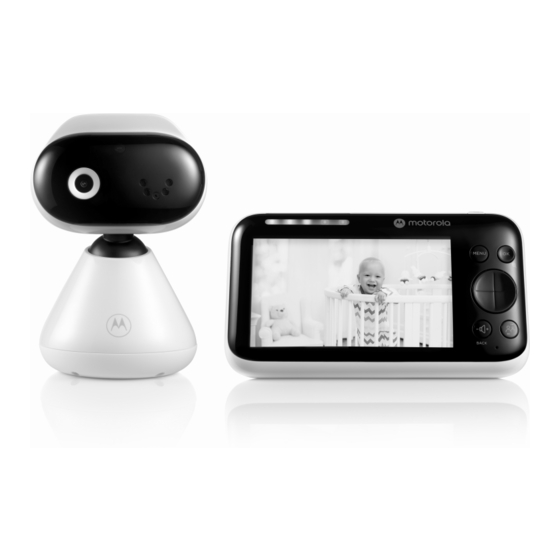
Summary of Contents for Motorola PIP1600 HD
- Page 1 Quick Start Guide Models: PIP1600 HD PIP1600-2 HD PIP1600-3 HD PIP1600-4 HD...
-
Page 2: Parent Unit
At a glance Baby (camera) unit 1. Camera 6. Power / Linking LED indicator Lights up in blue when the parent unit 2. Base is powered on and linked to the baby 3. Speaker (camera) unit. 4. Antenna 7. Pair button Press and hold to pair with the parent unit. -
Page 3: Connect And Charge
Connect and charge Baby (camera) unit Plug the DC plug of the power adapter into the power socket on the rear of the baby (camera) unit and plug the other end of the AC adapter into the wall socket. 2. The baby unit turns on and the power indicator lights up in blue and flashes in red after 30 seconds if the parent unit has not been powered up. - Page 4 Note Use only the supplied power adapter (DC5V / 1500 mA). Pair the baby (camera) unit to the parent unit We have paired the baby unit to the parent unit in the pack. In case you want to pair an extra camera, press and hold on the rear of the baby (camera) unit until the voice prompt 'Ready for pairing' is heard.
- Page 5 Use your video baby monitor Parent unit main menu Zoom in/out Adjust LCD brightness Play list Set the alarm Temperature unit °C or °F selection Camera selection Screen on/off timer View multiple cameras Message inbox Status icons Signal strength Battery level indication Zoom in Alarm set Playing lullaby...
- Page 6 Other menu options Lullabies playback Press MENU on the parent unit to open the menu. 2. Scroll the navigation button to then press OK and view the names of lullabies displaying on the screen. 3. Select a desired lullaby then press OK to start playback. Audio book playback Press MENU on the parent unit to open the menu.
- Page 7 Help No display • Try recharging the battery pack. • Reset the parent and baby (camera) units. Unplug both units from the wall socket, then plug them back in. • Check if the parent/baby (camera) unit is powered on. • When operated by the battery only, the parent unit display will go blank after 5 minutes, 30 minutes or 60 minutes to save power (depending on video settings).
-
Page 8: General Information
Meizhou, Guangdong, P.R.China . (“MZGW”) What Does this Warranty Cover? Subject to the exclusions contained below, MZGW warrants that this Motorola branded product (“Product”) or certified accessory (“Accessory”) sold for use with this product that it manufactured to be free from defects in materials and workmanship under normal consumer usage for the period outlined below. - Page 9 Use of the products or accessories for commercial purposes or subjecting the product or accessory to abnormal usage or conditions; or • Other acts which are not the fault of motorola or mzgw are excluded from coverage. Use of Non-Motorola branded Products and Accessories. Defects or damage that result from the use of Non-Motorola branded or certified Products or Accessories or other peripheral equipment are excluded from coverage.
-
Page 10: Industry Canada
How to Obtain Warranty Service or Other Information? To obtain service or information, please visit us at: motorolanursery.com/support You will receive instructions on how to ship the Products or Accessories at your expense and risk, to a MZGW Authorized Repair Center. To obtain service, you must include: •... - Page 11 < This page has been intentionally left blank >...
- Page 12 Manufactured, distributed or sold by Meizhou Guo Wei Electronics Co. LTD., official licensee for this product. MOTOROLA and the Stylized M Logo are trademarks or registered trademarks of Motorola Trademark Holdings, LLC. and are used under license. All other trademarks are the property of their respective owners.


