Advertisement
Quick Links
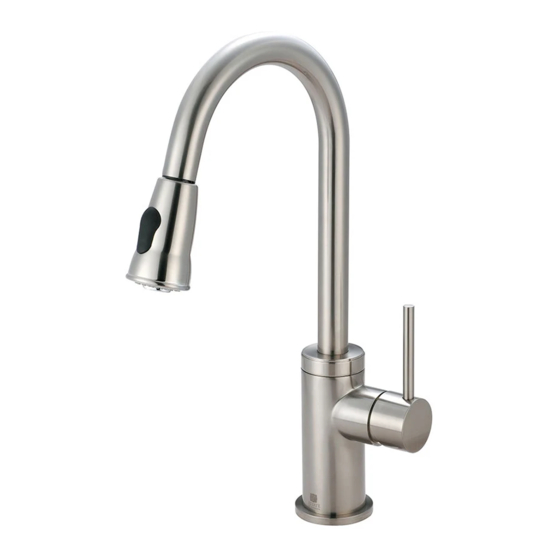
Single Handle Kitchen Faucet:
•
2GB250
•
2CL250
•
2MT250
•
2LG250
This product meets the following standards:
•
ASME A112.18.1
•
ANSI A117.1
•
ANSI / NSF 61, SECTION 9
•
CUPC / IAPMO LISTED / ADA COMPLIANT
•
CONTAINS NO MORE THAN 0.25% WEIGHTED AVERAGE
LEAD CONTENT
Engineering Excellence
Engineering Excellence
Engineering E xcellence
Installation Guide
Pioneer Industries, Inc. © 2013
REV-01 25, 13
Advertisement

Summary of Contents for Pioneer 2GB250
- Page 1 ASME A112.18.1 • ANSI A117.1 • ANSI / NSF 61, SECTION 9 • CUPC / IAPMO LISTED / ADA COMPLIANT • CONTAINS NO MORE THAN 0.25% WEIGHTED AVERAGE LEAD CONTENT REV-01 25, 13 Pioneer Industries, Inc. © 2013 Engineering Excellence...
-
Page 2: Prior To Installation
• For replacement installations, carefully remove the existing faucet and clean the entire surface of the sink mounting holes. • Pioneer reserves the right to make changes in the design of faucets without notice. REV-01 25, 13... -
Page 3: Faucet Installation
Do not use rubber washer and plumbers putty both to form watertight seal. Slide the escutcheon (H) to the faucet body (for 2LG250, 2MT250, 2GB250). Slide the washer (I) through the hoses and place it under the escutcheon (H). Insert the faucet through mounting surface hole. - Page 4 Faucet Installation Slide the mounting kit (F) along with shank from underneath of the mounting surface. Thread the mounting kit (F) with the help of provided mounting tool (J). Do not overtighten. REV-01 25, 13...
- Page 5 Faucet Installation Use main supply hose(K) to connect hot and cold inlet hose to main supply stop(L). Tighten with adjustable wrench. Do not overtighten. Install the weight along with the spray hose(C) such a way that pull down spray head easily retractable. Connect the spray hose(C) to the spray head outlet(A).
- Page 6 Reassemble and test until desired safe temperature is reached. (Note: Ensure proper alignment of cartridge with notch in faucet body.) For more care information or trouble shooting inquiries about your Pioneer product, please see the contact information on the back page. REV-01 25, 13...
- Page 7 Engineering Excellence Engineering E xcellence 3325 S. Garfield Ave. | Commerce, CA 90040 Telephone: (800) 338-9468 | (323) 888-8873 | Fax: (323) 888-9515 Hours: M - F, 7:30am to 5:00pm PST www.pioneerind.com REV-01 25, 13...

