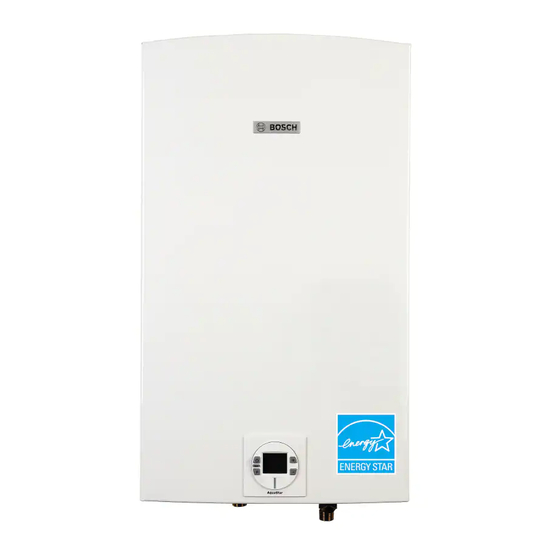
Bosch 715ES Service Bulletin
Removing and replacing water valve
Hide thumbs
Also See for 715ES:
- Service bulletin (2 pages) ,
- Quick start manual (2 pages) ,
- User manual (20 pages)
Advertisement
Quick Links
Service Bulletin G3-26
Models: 715ES, C800ES, 2400ES, 2700ES, Evolution 500, Integra 500
Removing and replacing water valve
Introduction
When replacing the watervalve, it is very important to drain all
water from the water heater beforehand to prevent water
damage to the internal electronics.
Tools needed:
Phillips head screwdriver
Bucket to catch draining water
Plumber's grease
Removing the water valve
1. Press On/Off button to Off and unplug power cord from electrical
outlet.
2. Loosen two Phillips head screws located at bottom rear of cover.
(Fig. 1).
3. Lift front cover upward and remove. (Fig. 1).
Step 1
Step 1
4. Remove 3 Phillips screws from control unit (Fig. 2, step 1)
4. Place water heater's control unit into the service position.
(Fig. 2, step 2).
Figure 1
5. Close installer supplied inlet and outlet shutoff valves.
6. Relieve water pressure from unit by opening pressure relief valve
on hot outlet side of unit. Have a bucket ready to catch the
draining water. Drain water from unit by removing cold water
inlet connection on bottom of heater.
Step 2
Step 2
Figure 2
Water
valve
Step 2
Step 2
Advertisement

Summary of Contents for Bosch 715ES
- Page 1 Service Bulletin G3-26 Models: 715ES, C800ES, 2400ES, 2700ES, Evolution 500, Integra 500 Removing and replacing water valve Introduction 4. Remove 3 Phillips screws from control unit (Fig. 2, step 1) 4. Place water heater‘s control unit into the service position.
- Page 2 Service bulletin 18 | G3-26 | 715ES, C800ES, 2400ES, 2700ES, Evolution 500, Integra 500 7. Unplug smaller wire connectors (A) from water valve. 10. If no water leaks are present, return control unit to normal (Fig. 3). position and secure with 3 Phillips screws (Fig 2). Plug power 8.


