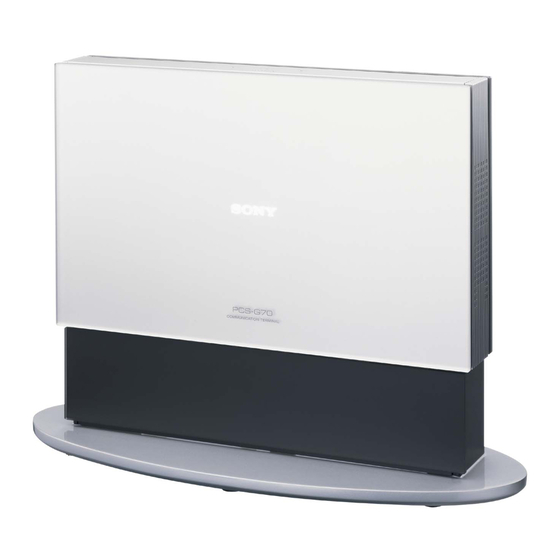
Summary of Contents for Sony PCS-G70/G70P
- Page 1 3-863-239-11 (1) Video Communication System Operating Instructions for Web Control Function PCS-G70/G70P 2004 Sony Corporation...
-
Page 2: Table Of Contents
Introduction This document introduces the Web Control Function which is used to operate the PCS-G70/G70P over a LAN. The Web Control Function helps you control the PCS-G70/G70P, or change its setup configuration, using a Web browser installed on your PC, such as Internet Explorer or Netscape Navigator. The following is a set of Operating Instructions for the Web Control Function. -
Page 3: Open The Web Page
1. Open the Web page Enter the IP address assigned to the PCS-G70/G70P in the address line of your browser. The format of an address is: http://XXX.XXX.XXX.XXX/ For instance, if the IP address is “192.47.100.117”, enter “http://192.47.100.117/” in the address line. -
Page 4: Select A Tool
By clicking a tool button on the top part of the page, you can jump to the corresponding tool page. A brief introduction of each tool is presented below. • [Controller] Controls the PCS-G70/G70P using the on-screen controller, or controls using the on-screen Remote Commander in the same manner as you do with the PCS-RG70 Remote Commander. • [Dial/Disconnect] Calls a remote party, or ends a meeting. -
Page 5: How To Use "Controller
To control the PCS-G70/G70P from the on-screen controller When you click the [Controller] button, the on-screen control panel appears. By clicking the buttons on this control panel, you can control the PCS-G70/G70P, sending still images, operating the camera, registering preset camera settings, and so on. - Page 6 To control the PCS-G70/G70P from the on-screen Remote Commander When you click Commander on the left part of the screen, the Remote Commander screen appears. By clicking the various buttons on the Remote Commander image, you can control the unit in the same way you can when using a real Remote Commander (PCS-RG70), operating the camera, and dialing phone numbers.
-
Page 7: How To Use "Dial/Disconnect
5. How to use “Dial/Disconnect” By clicking the [Dial/Disconnect] button, you can jump to the “Dial/Disconnect” page. • To connect: 1 Enter the telephone number(s) of a remote party into the box(es): A1( to C2) (When using a LAN, enter an IP address or a DNS name.) 2 Set the communication attribute. -
Page 8: How To Use "Phone Book
6. How to use “Phone Book” By clicking the [Phone Book] button, you can jump to the “Phone Book list” page. • To connect: 1 Click sDial next to the index title that you are dialing. Then, the message, “Now dialing...” will appear. - Page 9 “Phone Book-Edit” page • To edit the communication attribute (only when “super” or “sonypcs” has been entered as the user name): 1 Click sEdit... next to the index title whose communication attribute you want to edit or modify on the list page. Then, the “Phone Book-Edit” page will appear. 2 Edit or modify the telephone numbers and attributes.
- Page 10 “Phone Book-New” page • To register a new point (only when “super” or “sonypcs” has been entered as the user name): 1 Click sNew on the list page. The “Phone Book-New” page will appear. 2 Enter an index title into the Index box and telephone numbers into box(es) A1 (to C2). 3 Set the communication attributes.
-
Page 11: How To Use "Setup
7. How to use “Setup” Click the [Setup] button, and you will jump to the “Dial Setup” page. Click Dial, Answer, Communication, Audio, Video, General, LAN on the left part of the screen, according to what you are setting up. •... - Page 12 To display the “Send Message” page Click Message on the left side of the page. The “Send Message” page will appear. Enter the message you want to send into the Message box and click the [Send] button to send the message to the PCS-PG70/PG70P.
- Page 13 To reset the system Click Reset on the left part of the page. The “Reset” page will appear (only when “sonypcs” has been entered as the user name). 1 Click on the desired item. A dialog box will appear. 2 Click the [OK] button. •...
-
Page 14: How To Use "Info
• Click the [Info] button, and the “Information” page will appear. • Click the [Documents] button to download the Operating Instructions (PDF format). When the PCS-G70/G70P is on-line, the “Communication Status,” “Line Status,” and “Machine Information” page appears, and during otherwise, the “Line Status” and “Machine Information” page... - Page 15 To display the Cause Code list By clicking Cause on the left part of the page, you can jump to the “Cause Code” page, and see the Cause Code list.
- Page 16 To display the Call Log By clicking Call Log on the left part of the page, you can jump to the “Call Log” page (only when “sonypcs” has been entered as the user name).
-
Page 17: Monitor A Meeting Over The Web
9. Monitor a meeting over the Web Click the [Monitor] button to show the monitoring window. Note When Web Monitor is set to Off in the Administrator Setup menu, the “Monitor” page cannot be used.


