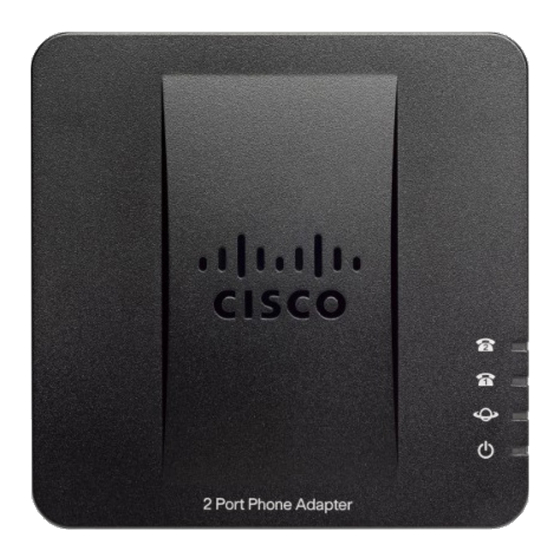
Cisco SPA112 Quick Start Manual
Intermedia cloud pbx
Hide thumbs
Also See for SPA112:
- Administration manual (149 pages) ,
- Quick start manual (13 pages) ,
- Setup & user manual (8 pages)
Advertisement
Quick Links
Advertisement

Summary of Contents for Cisco SPA112
- Page 1 Quick Start Guide Intermedia Cloud PBX | Cisco SPA112...
- Page 2 Welcome to your Cloud PBX Service.
- Page 3 What’s in the box? Cisco SPA112 A. SPA112 ATA C. Power adapter B. Ethernet cable D. Plug end...
-
Page 4: Guided Setup
Guided Setup Your new Fax Adapter (commonly referred to as an Analog Telephone Adapter or ATA) allows you to use an existing fax machine to send and receive faxes through the Cloud PBX network. The phone number for this ATA was included in an email you have already received. Connecting Cables Please follow the diagram below to install your ATA. - Page 5 1. Connect your fax machine to the ATA by plugging one end of the included phone cord into the Phone 1 port on the ATA, and the other end into the Line port on your fax machine. 2. Connect the included Ethernet cable to the Internet port on the ATA and connect it to a switch or router in your network.
- Page 6 Using Your ATA Fax Machine Configuration If you are having problems with faxing, you may need to refer to your fax machine owner’s manual and adjust the configuration on your fax machine. For best performance with Cloud PBX: • If your fax machine has an “ECM” (Error Correction Mode) feature, please disable this function.
- Page 7 Updating Your ATA You may make changes to your ATA within the Control Panel. Logging into the Control Panel • Go to http:www.intermedia.net/login • Click the ‘For admins’ tab • Enter the Account Owner’s user name and password • Press the ‘Login’ button Updating Outbound Caller ID Within the Control Panel: •...
-
Page 8: Viewing Call History
Updating 911 Address Within the Control Panel: • Click on the Devices tab • Locate the ATA in question and click on the link • Click on the ‘911 Address’ tab on the left side • Update the address as appropriate •... - Page 10 We are here to help. www.intermedia.net/knowledgebase/voice voicesupport@intermedia.net 1.877.880.0055...
- Page 12 www.intermedia.net CiscoSPA112-QS-001 *CISCOSPA112-QS-001* ©2017 Voice Telco Services 113180 VO_Quick Start Guide Fax Adapter_Direct_062817...


