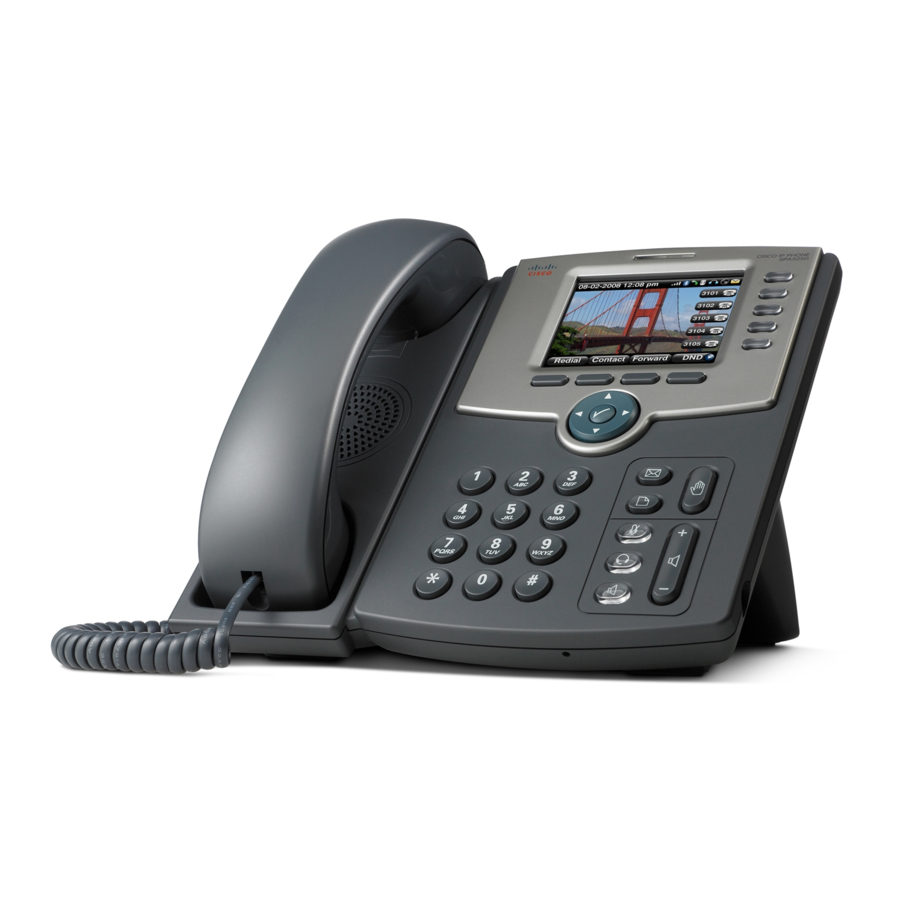
Cisco SPA 525G User Manual
Spa 500 series
Hide thumbs
Also See for SPA 525G:
- User manual (99 pages) ,
- Owner's manual (57 pages) ,
- Configuring (9 pages)
Summary of Contents for Cisco SPA 525G
- Page 1 USER GUIDE Cisco Small Business SPA 500 Series IP Phones Model SPA 525G/SPA 525G2 Provided by ...
-
Page 2: Phone Components
Understanding Your Phoneʼs Lines and Buttons 230%"'70890%"%#. Use the following graphic and table to identify the parts of your phone. Phone Components Figure 1 Cisco SPA 525G/525G2 Phone Components :$&1*" , 7$.;0'(2<'=>=!?=>=!>'230%"'70890%"%#. Table 1 IP Phone Components @)AB" , C2'230%"'70890%"%#. -
Page 3: Softkey Buttons
Contact your phone administrator for more information. Cisco S pa 5 25 U ser G uide V 7.11 ... - Page 4 Table 2 Cisco SPA 525G/525G2 Softkey Buttons Button Function Adds a new item (for example, a new directory entry). AddList Creates a list (for example, of MP3 files to play). Alpha Press to enter alphabetic characters in a data entry field.
- Page 5 Transfers existing active calls on the phone. Cisco S pa 5 25 U ser G uide V 7.11 ...
-
Page 6: Using The Keypad And Buttons With Menus
Using the Keypad and Buttons with Menus You press a softkey button or other buttons to enter menus on the LCD screen. Using Keypad Shortcuts Use the keypad to enter the number of the menu or sub-menu item. For example, to reach the Call History menu, press the Setup button and press 2. -
Page 7: Placing Or Answering A Call
Cisco S pa 5 25 U ser G uide V 7.11 ... -
Page 8: Resuming A Call
Resuming a Call To resume the call, press the flashing red line button for the call. If you have multiple calls, all calls are put on hold except the active call. Ending a Call To end a call: • If you are using the handset, hang up. -
Page 9: Viewing And Returning Missed Calls
Forwarding”. Cisco S pa 5 25 U ser G uide V 7.11 ... -
Page 10: Forwarding Calls To A Single Number
To forward calls: STEP 1 Press the Setup button. STEP 2 Scroll to User Preferences and press Select. STEP 3 Select Call Preferences. STEP 4 Under Call Forwarding, press the Right Arrow key to turn call forwarding on and press the Save softkey. -
Page 11: Setting Do Not Disturb
Cisco S pa 5 25 U ser G uide V 7.11 ... -
Page 12: Placing A Three-Way Conference Call
STEP 2 Press Select. Using the Phone Directories The Cisco SPA 525G/525G2 IP phone provides several different types of phone directories, depending on the phone model and what the phone administrator has set up for the company. In general, the phones provide the following types of directories: •... -
Page 13: Using Your Personal Address Book
Press Option and select Copy. Cisco S pa 5 25 U ser G uide V 7.11 ... -
Page 14: Searching For A Contact
STEP 3 Press Option again and select Paste. Edit any necessary fields and press Save. STEP 4 Searching for a Contact To search for a contact: STEP 1 In the Personal Address Book screen, press Option and select Search. STEP 2 Begin to enter the personʼ... -
Page 15: Using The Call History Lists
Cisco S pa 5 25 U ser G uide V 7.11 ... -
Page 16: Accessing Voicemail
Scroll to Voice Mail. STEP 5 Enter the number to dial for voicemail. For a Cisco SPA 9000 Voice System, this is normally “vmm.” For an external system, enter the phone number, including any digits you must dial to reach an outside line. -
Page 17: Customizing Your Lcd Screen
(if, for example, you chose a rotation of pictures). Cisco S pa 5 25 U ser G uide V 7.11 ... -
Page 18: Changing The Phone Wallpaper
300K in size. The phone can only read 45 images from the USB device. STEP 3 Remove the USB device from your PC and insert it into the USB slot on the Cisco SPA 525G/525G2. To change the background picture on your phone: STEP 1 Press the Setup button. -
Page 19: Accessing News
Before You Begin NOTE The RJ- 11 port marked “AUX” is reserved for connection with the Cisco SPA 500S Attendant Console that works with the Cisco SPA 525G/525G2. It is not for use as a telephone line port. CAUTION Do not plug a telephone line cord into the port marked “AUX.”... -
Page 20: Verifying Phone Startup
USB port. For use with an external USB memory device (optional). You can also use the USB port on the Cisco SPA 525G2 model to charge a device such as a Bluetooth- enabled mobile phone if your phone has a mini-USB port. -
Page 21: Restarting Your Phone
Cisco S pa 5 25 U ser G uide V 7.11 ...


