Table of Contents
Advertisement
Quick Links
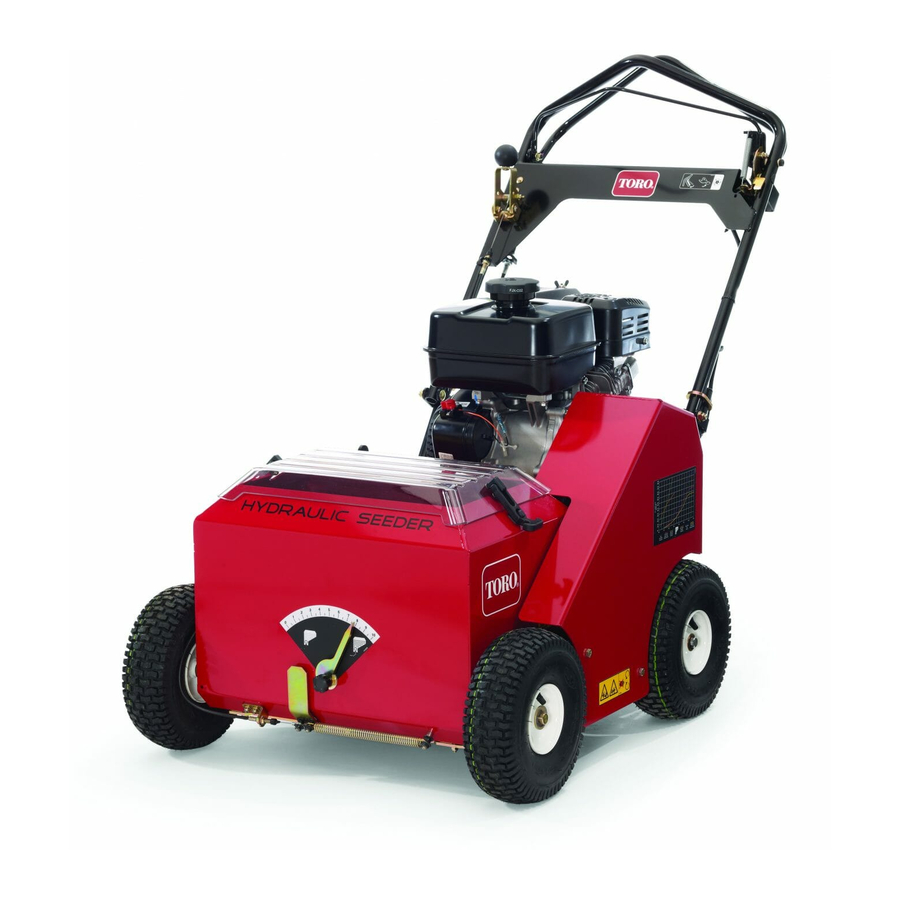
20in Turf Seeder
Model No. 23508—Serial No. 400000000 and Up
In addition to this guide, please read the full Operator's Manual, which you can obtain from the rental center
or from www.Toro.com. To download the manual from www.Toro.com, you will need the product model and
serial number, listed above.
The engine exhaust from this product contains chemicals known to the State of
California to cause cancer, birth defects, or other reproductive harm.
Battery posts, terminals, and related accessories contain lead and lead
compounds, chemicals known to the State of California to cause cancer and
Use of this product may cause exposure to chemicals known to the State of California
to cause cancer, birth defects, or other reproductive harm.
Safety
This machine seeds, dethatches, and power rakes
turf both for revitalizing existing turf and for spreading
seed. It is intended for small to medium sized lawn
applications in residential and commercial properties.
Using this product for purposes other than its intended
use could prove dangerous to you and bystanders.
General Safety
This product is capable of injuring hands and feet
and of throwing objects. Always follow all safety
instructions to avoid serious personal injury.
•
Read and understand the contents of this
Operation and Safety Guide before starting the
engine.
•
Do not put your hands or feet near moving
components of the machine.
•
Do not operate the machine without all guards
and other safety protective devices in place and
working on the machine.
•
Keep children and bystanders out of the operating
area. Never allow children to operate the machine.
•
Stop the machine and shut off the engine before
servicing, fueling, or unclogging the machine.
Improperly using or maintaining this machine can
result in injury. To reduce the potential for injury,
© 2020—The Toro® Company
8111 Lyndale Avenue South
Bloomington, MN 55420
CALIFORNIA
Proposition 65 Warning
reproductive harm. Wash hands after handling.
Register at www.Toro.com.
WARNING
comply with these safety instructions and always
pay attention to the safety-alert symbol
means Caution, Warning, or Danger—personal safety
instruction. Failure to comply with these instructions
may result in personal injury or death.
Original Instructions (EN)
Form No. 3443-852 Rev A
Operation and Safety Guide
*3443-852*
Printed in the USA
All Rights Reserved
, which
Advertisement
Table of Contents

Summary of Contents for Toro 23508
- Page 1 Operation and Safety Guide In addition to this guide, please read the full Operator’s Manual, which you can obtain from the rental center or from www.Toro.com. To download the manual from www.Toro.com, you will need the product model and serial number, listed above.
-
Page 2: Safety And Instructional Decals
Safety and Instructional Decals Safety decals and instructions are easily visible to the operator and are located near any area of potential danger. Replace any decal that is damaged or missing. decal93-7321 93-7321 1. Cutting/dismemberment hazard of hands and feet, rotating knives/blades—stay away from moving parts. - Page 3 decal126-2446 126-2446 decal126-0296 1. Blade up; “T” = Transport 3. “H” = deepest blade 126-0296 position setting; blade down 1. Read the Operator’s 4. Check the transmission 2. “A” through “H” increasing Manual before performing belt drive tension every depth settings maintenance.
- Page 4 decal116-8648 116-8648 1. To start the engine, read the Operator’s Manual - (1) Park the 3. Cutting blades - release the blade control bail (neutral machine on a level surface (2) Fill the engine with oil (3) Move position) to disengage the cutting blades; hold the blade the control bars to a neutral position (4) Start the engine.
-
Page 5: Product Overview
Product Overview g252290 g252291 Figure 1 Figure 2 1. Seeder-control lever 6. Seed hopper and cover 1. Recoil-start handle 6. Throttle lever 2. Fuel-shutoff valve 7. Dipstick 2. Self-propel drive bail 7. Seeding-rate gauge 3. Choke lever 8. Oil-drain plug 3. -
Page 6: Fuel Safety
properly. Do not operate the machine unless they Do not use fuel additives other than a fuel are functioning properly. stabilizer/conditioner. Do not use fuel stabilizers with an alcohol base such as ethanol, methanol, • Inspect the area where you will use the machine or isopropanol. -
Page 7: During Operation Safety
Filling the Fuel Tank Shut off the engine and wait for all moving parts to stop before leaving the operating position. Disengage the cutting blades, shut off the To change the seeding rate, loosen the knob on engine, wait for all moving parts to stop, and turn the seeding-rate gauge located on the front of the engine switch to the O position. -
Page 8: Slope Safety
Do not change the governor speed or overspeed the engine. Starting the Machine • Use only accessories and attachments approved Ensure that the blade-control bail is in the O by Toro. position. Slope Safety Move the engine switch to the O position, and open the fuel-shutoff valve. -
Page 9: Operating The Self-Propel Drive
Note: Note: If the engine stalls or hesitates, move the You can vary the ground speed choke left again until the engine warms up. by increasing or decreasing the distance between the self-propel drive bail and the Move the throttle lever to the desired setting. handle. -
Page 10: Operating The Machine
Note: Squeeze the blade-control bail against the There is no need to turn the handle and release the blade-control lock; the seeder-control lever off and on for each turn. blades engage. The seed flow slows and/or stops when the machine is stopped or slowed for turning. To Release the blade-control bail to disengage the reduce seed loss, raise the front wheels as the blades. -
Page 11: Disengaging The Hydrostatic Drive
Be sure that the trailer has all necessary lighting and marking as required by law, and use safety chains. Disengaging the Hydrostatic Drive If you need to push the machine unpowered, you must release the hydrostatic drive. To release the drive, pull the hydrostatic-drive bypass lever (Figure 7) out and...


