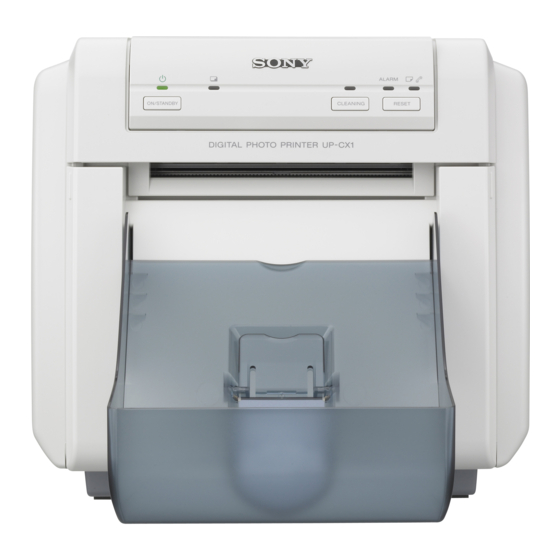
Sony UP-CX1 series Installation Manual
Sony printer accessories user manual
Hide thumbs
Also See for UP-CX1 series:
- Operating instructions manual (22 pages) ,
- Specifications (5 pages) ,
- Brochure & specs (22 pages)
Table of Contents
Advertisement
Quick Links
2-699-693-11 (1)
Printer Driver
(for Mac OS X)
Installation Guide
This guide describes installation and the use of the Printer
Drivers for Mac OS X.
Before Using this Software
Before using the printer driver, be sure to read the "ReadMe"
file located on the CD-ROM.
UP-CX1 Series
© 2006 Sony Corporation
Advertisement
Table of Contents

Summary of Contents for Sony UP-CX1 series
-
Page 1: Printer Driver
This guide describes installation and the use of the Printer Drivers for Mac OS X. Before Using this Software Before using the printer driver, be sure to read the “ReadMe” file located on the CD-ROM. UP-CX1 Series © 2006 Sony Corporation... -
Page 2: Table Of Contents
Table of Contents Operation Environment Requirements ...3 About This Document ...3 Installing the Printer Driver ...4 Before Installation ...4 Installation Procedure ...4 Using More Than One Printer ...7 Installation Procedure ...7 Uninstalling the Printer Driver ...9 Uninstallation Procedure ...9 Making Page Settings ...10 Making Print Settings ...11 Setting the Number of Copies ...11 Setting the Graphics Attributes ...11... -
Page 3: Operation Environment Requirements
• Hard disk: At least 2 MB of free space at time of installation About USB 2.0 • The UP-CX1 series conforms to USB 2.0 specifications. • USB 2.0 is fully backward compatible with USB 1.1. • USB 2.0 supports conventional Full (low) speed and Hi-Speed operation. -
Page 4: Installing The Printer Driver
Installing the Printer Driver Before Installation Connecting multiple printers When several UP-CX1 series printers are connected to a single computer, install the printer driver for the first printer, according to the explanation in “Installation Procedure.” Then connect the subsequent UP-CX1 series printers to the computer and refer to the section “Using More Than One Printer.”... - Page 5 To accept the Software License Agreement, click [Agree]. The installation destination screen appears. Select the boot disk as destination volume and click [Continue]. The installation type screen appears. Click [Install] or [Upgrade]. The Authenticate screen appears. Windows 2000 Enter the administrator [Name] and [Password], and click [OK].
- Page 6 To verify that the printer is ready for use, bring up the Printer List in the Printer Setup Utility. If the model name of your UP-CX1 series printer is shown in the list, the printer can be used. To start the Printer Setup Utility, open [Applications] - [Utilities] - [Printer Setup Utility].
-
Page 7: Using More Than One Printer
Windows 2000 Using More Than One Printer Installation Procedure If more than one UP-CX1 series printer is to be connected to the computer, perform the installation procedure for the second and subsequent printers as described below. The installation for the first printer must have been completed correctly, as described in the preceding section. - Page 8 If there is already a printer with the same name as the printer to be added, change the name of the existing printer. For example, if the new printer is “UP-CX1” and there is already a “UP-CX1” in the Printer List, change the name of that printer as follows.
-
Page 9: Uninstalling The Printer Driver
Uninstallation Procedure To uninstall the printer driver, proceed as follows. Shut down all running applications. Turn power to all UP-CX1 series printers connected to the computer off and disconnect the USB cables. Open [Applications] - [Utilities] - [Printer Setup Utility]. -
Page 10: Making Page Settings
Making Page Settings Before printing from an application, you should make the required page attribute settings. Page attributes include the printer to use, the paper size, the paper orientation, and scale settings. From the [File] menu in the application, select Page Setup. -
Page 11: Making Print Settings
Making Print Settings Before printing from an application, you should make print settings on the print sheet. To bring up the print sheet, access the [File] menu of the application, select [Print], and select the printer from the [Printers] popup menu. Print settings include the number of copies to print, the use of digital camera correction, color balance settings, lightness, etc. -
Page 12: Checking The Print Settings
Color balance From the [Color Adjust] popup menu, select [Color Balance]. Adjust the color balance by moving the sliders left or right, or by directly entering values in the edit boxes. Click the [Restore Defaults] button if you wish to return all color balance settings to their default condition.


