Table of Contents
Advertisement
Advertisement
Table of Contents

Summary of Contents for HP HP Deluxe Webcam
- Page 1 HP Webcam User’s Guide Version 1.0...
-
Page 2: Product Registration
Copyright © 2008 Hewlett-Packard Development Company, L.P. The information contained herein is subject to change without notice. The only warranties for HP products and services are set forth in the express warranty statements accompanying such products and services. Nothing herein should be construed as constituting an additional warranty. -
Page 3: Table Of Contents
Table of Contents Welcome ....................1 Overview ......................1 Using Your HP Webcam ................3 Recording a Video....................3 Starting a Video Chat .................... 4 Using Your Webcam as a Video Monitor ..............5 Editing a Video ..................... 6 Editing a Video in ArcSoft WebCam Companion ..........6 Editing a Video in ArcSoft VideoImpression ............ - Page 4 HP Webcam User’s Guide...
-
Page 5: Welcome
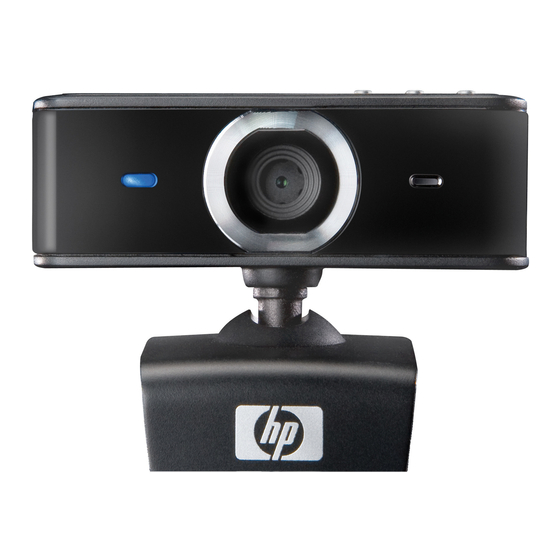
Welcome Congratulations on purchasing one of the following products: HP Deluxe Webcam HP Premium Autofocus Webcam This guide shows you how to use your new webcam to record videos, start video chats, use your webcam as a security cam, take pictures, and adjust the webcam settings. - Page 6 HP Webcam User’s Guide...
-
Page 7: Using Your Hp Webcam
Using Your HP Webcam Recording a Video Press the Video Record button on your webcam to open ArcSoft WebCam Companion™. If prompted, select a folder to store your videos. Press the Video Record button or click Record Video to begin recording. -
Page 8: Starting A Video Chat
IM application’s documentation. NOTE: The HP Instant Chat Button Setup options appear only during initial setup. The next time you press the HP Instant Chat button, the selected IM application opens automatically. To select a different IM application after you complete initial setup, click Start >... -
Page 9: Using Your Webcam As A Video Monitor
If you want to send a video snapshot by e-mail, upload the video to your FTP site, or change the location of your media folder, ArcSoft WebCam Companion can do all that and more. To learn more about using ArcSoft WebCam Companion, click the Help menu. HP Webcam User’s Guide... -
Page 10: Editing A Video
Editing a Video in ArcSoft VideoImpression Double-click the ArcSoft VideoImpression icon on the Windows desktop. Click Open an Existing Project. Select the video you want to edit. To learn about using ArcSoft VideoImpression, click the Help menu. HP Webcam User’s Guide... -
Page 11: Taking A Picture
Double-click the HP Photosmart Essential icon on the Windows desktop. Click the Help ? icon in the upper-right corner of the Photosmart Essential window to learn more about editing, printing, and sharing pictures with HP Photosmart Essential. HP Webcam User’s Guide... - Page 12 HP Webcam User’s Guide...
-
Page 13: Adjusting Settings
Windows desktop. Click the Generic Settings icon. Remove the check mark from the Auto Enhance box. Drag the sliders to adjust these settings: Brightness Contrast Click OK. NOTE: To restore all the factory settings, click Default. HP Webcam User’s Guide... -
Page 14: Creating A Personal Profile
To restore the factory settings, click Default. To apply a previously saved profile, select the profile name from the Current Profile list. To delete a profile, select the profile name from the Current Profile list, and then click the Delete icon. HP Webcam User’s Guide... -
Page 15: Adjusting Capture Settings
Video Quality sets the default resolution for videos you record. Number of photos in burst sets the number of images captured in burst mode. With Audio turns the webcam’s microphone on and off. Click OK. NOTE: To restore all the factory settings, click Refresh device. HP Webcam User’s Guide... -
Page 16: Adjusting Webcam Settings
Turn off the video input by inserting a check in the Video Off check box. When the video is turned off, you cannot be seen, but you can still be heard. Click OK. NOTE: To restore the factory settings, click Default. HP Webcam User’s Guide... -
Page 17: Troubleshooting
Problem Solution The image is fuzzy Make sure that you removed the protective film from the webcam lens. (HP Premium Autofocus Webcam only) Turn off the autofocus feature and use the software settings to manually adjust the focus. See Adjusting Webcam Settings for details. - Page 18 Look in the Windows System Tray for the HP Button Manager icon. If working properly you don’t see the HP Button Manager icon, then open My Computer, navigate to the Program Files\HP\Button Manager folder, and double-click the BM.EXE file to restart it.
- Page 20 Part number: 5992-4251...


